What is a .PNG and how do I make one?
PNG images may include an 8-bit transparency channel,
which allows the image colors to fade from opaque to transparent. What
this means in layman terms is you can use a logo that is cut away from the
background, otherwise it would be a rectangular logo if you didn’t cut out the
background of the file.
Below are step by step instructions on how to setup a
.png logo from a .jpg file. You can do this from a .psd file as well ,but
you have to remove all layers except for the layer with the graphic.
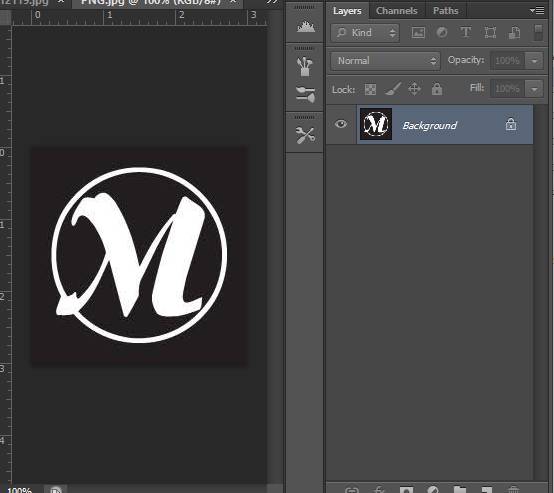
Assume I want to use this .jpg file as my team logo for
these products. Open in Photoshop and it should show as a single layer
locked as shown below.
To note: The background of a .psd file will also be
locked, but you can generally just delete that layer as the logo will be its
own layer.
We can unlock this layer by right clicking and go to
Layer From Background. Doing this makes it possible to remove/erase
the background of the layer without it replacing it with white canvas.
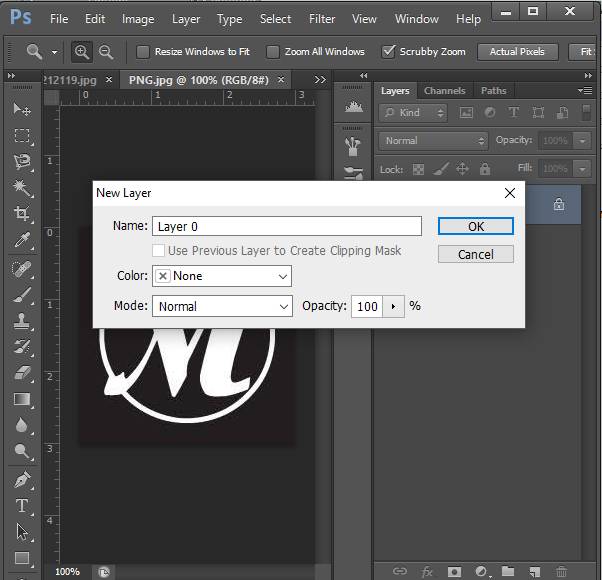
Hit OK and we are ready to cut out portions of the image
that we don’t want to show on the final design.
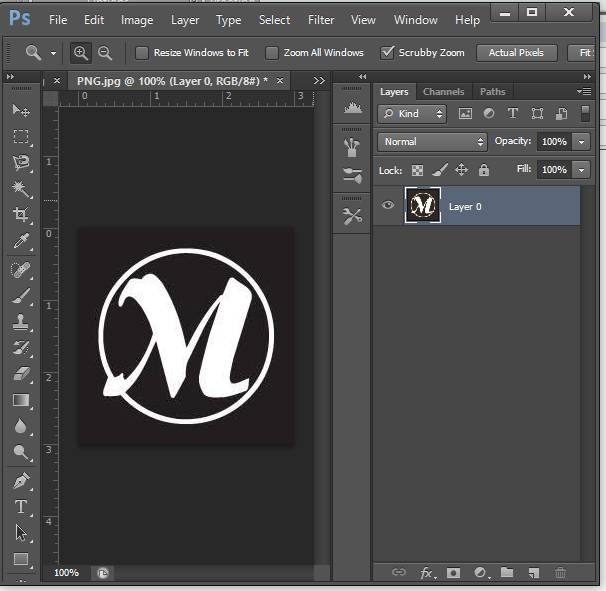
Next I want to make this logo pop on the background that
it will go on. First I cut it out by selecting the background and
deleting/erasing.
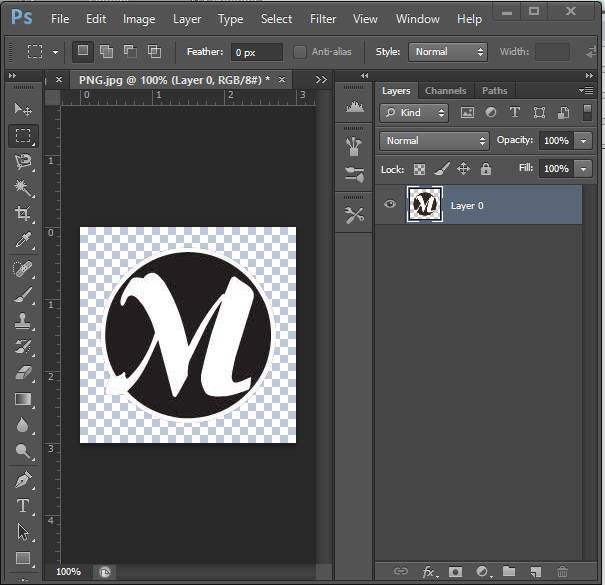
Now, the logo has a white stroke on this one which means
it will look great on a darker background. If, however, it will be printing on
a white background for example, then we will want to add a black stroke.
To do this right click on Layer and go to Blending
Options. Stroke is suggested, but you can do other things to break it up
from a busy background.
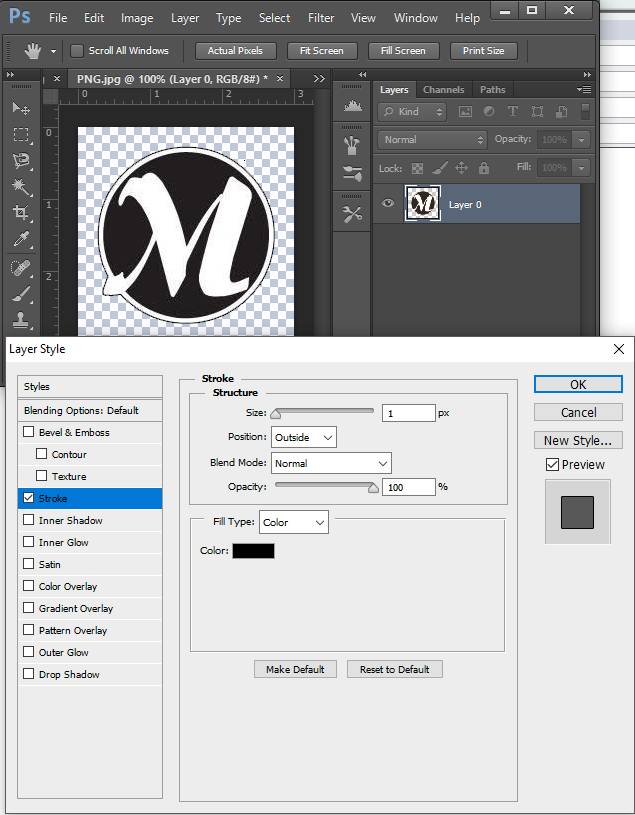
Our logo now has a stroke. If you didn’t apply a
stroke, you can skip the next step.
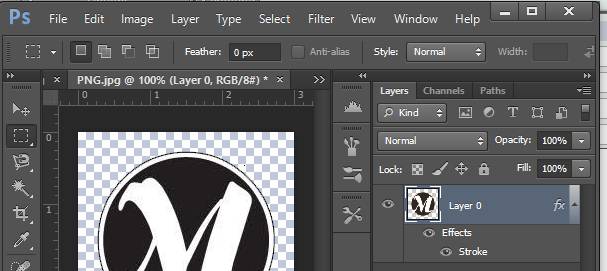
To get this layer back to a simple layer we need to right
click on the layer and Rasterize Layer Style. This will flatten the
layer, but not the image.
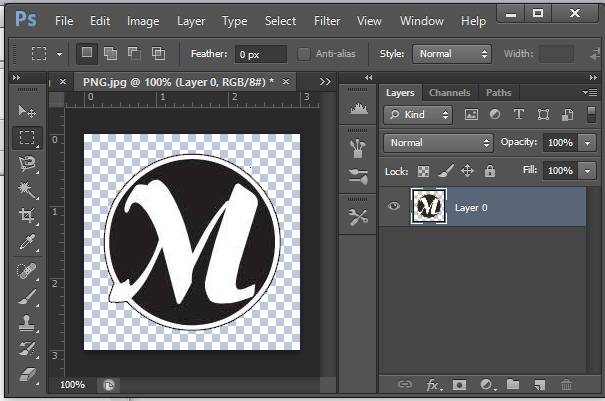
Next is an optional step, but to insure maximum coverage
of the logo on the product, you will want to crop as close to the edge as
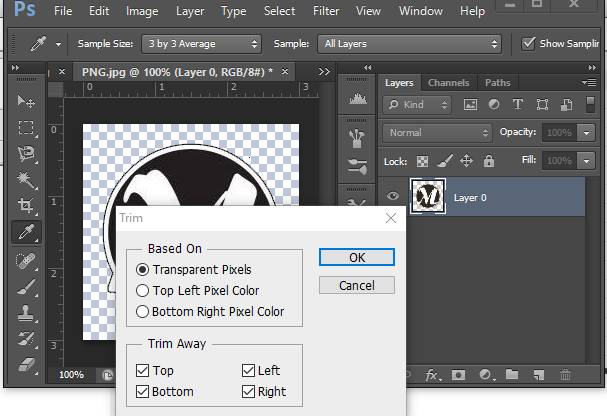
possible. Do this by selecting the menu header Image->Trim. Set
it to transparent pixels like shown below. Hit OK.
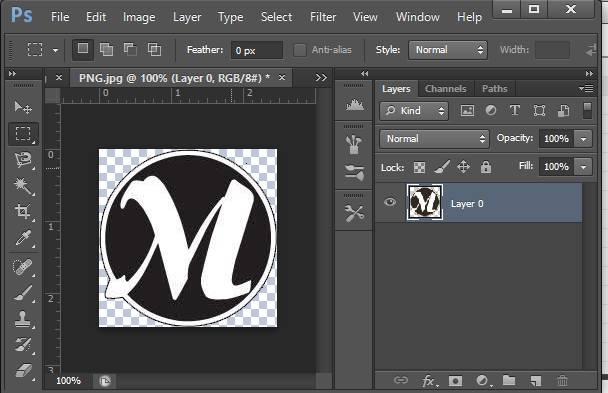
The final output will look similar to this.
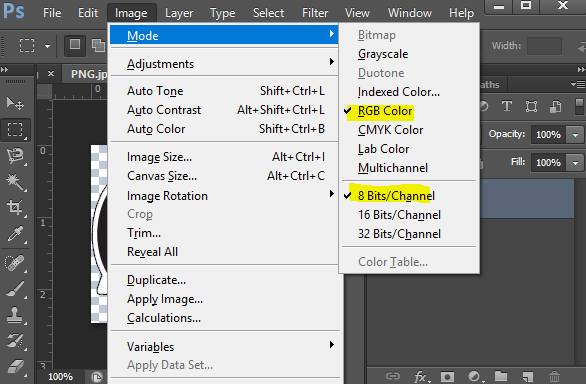
Now the 2 things to watch for. Make sure the file
is set in RGB and 8-Bit. You can verify this by going to
Image->Mode. Make sure both RGB and 8-Bit are checked.
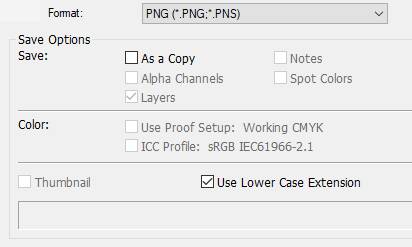
Ready to save. Save as and choose the .png
extension. As a Copy should not be checked, Layers should be
automatically checked.
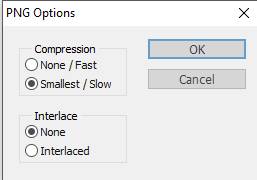
Make sure you keep compression to Smallest/Slow and
Interlace to None as shown below and hit OK. Your file will be ready
to use in the program.